
Mathematics
What we offer


News and stories
UMToday
View more news and stories-

Witness the spark in science when students compete for $3,000 cash prize!
Faculty of Science
-
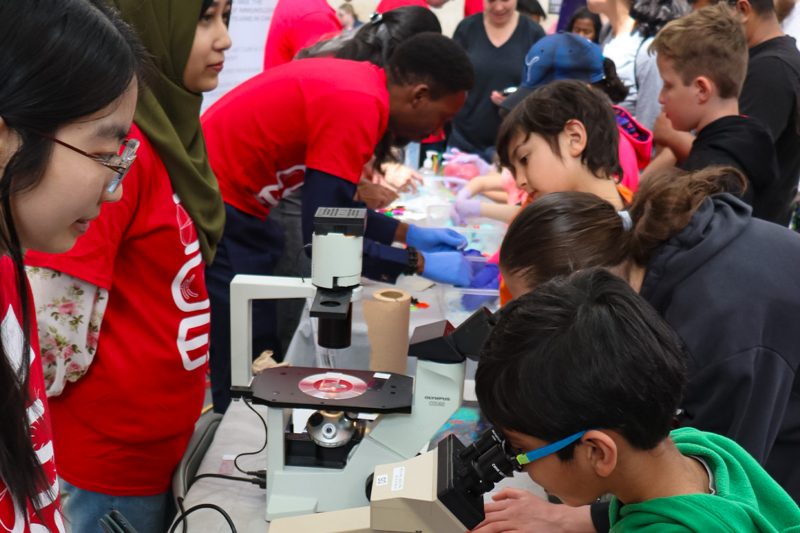
Volunteer for Science Rendezvous 2024
Faculty of Science
-

UM researchers recognized with Rh Awards
Research and International, UM Today
-

Meet Mikaël Slevinsky, 2022 Rh Award Winner in the Natural Sciences category
Research and International, UM Today
Events


You may also be looking for
Mathematics committees
Current committee members
Contact us
Our office
Department of Mathematics
420 Machray Hall, 186 Dysart Road
University of Manitoba
Winnipeg, Manitoba, R3T 2N2 Canada
204-474-8703
204-474-7611
Our office is open Monday to Friday, 8:30 a.m. to 4:30 p.m.